
Step 1 - Measure and Cut all Panel Sections
Measure all garage door panels and cut the reflective insulation to fit each of your panels.

Residential Application


Measure all garage door panels and cut the reflective insulation to fit each of your panels.

Clean the indoor surfaces of the garage door panels with an alcohol-based degreasing cleaner to remove any grease or grim to ensure the panels stick well once installed.

Peel off the BLUE tape backings of the included double-sided foam tape pieces and adhere 6 pieces to each door panel (all 4 corners, middle-top and middle-bottom as shown in the image). Apply FIRM PRESSURE after attaching each piece to the garage door panel (tape is pressure-sensitive).

Working with one section at a time, peel off the remaining WHITE tape backings of all six tape pieces to expose the sticky surface. Position the custom-sized reflective insulation section into place on the garage door panel and PRESS FIRMLY against each adhesive piece.


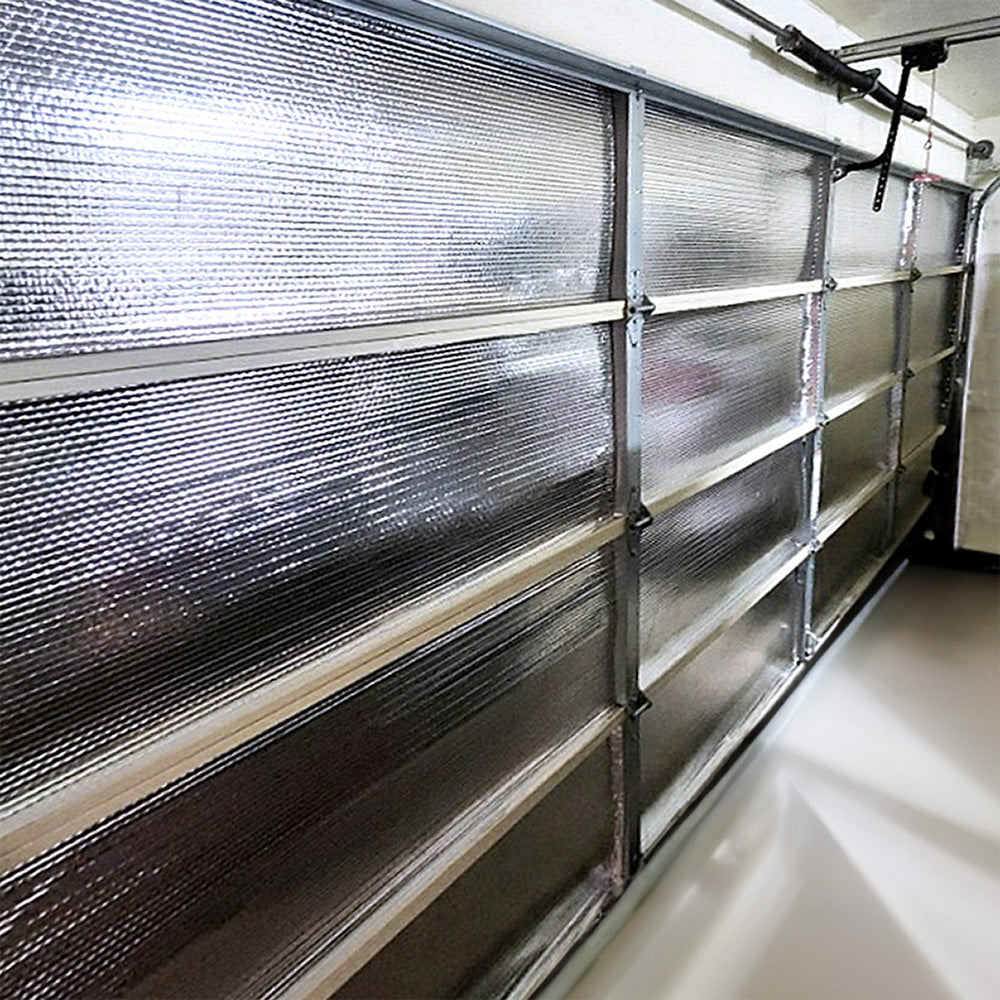
Garage Door Insulation Panels Kit
Say goodbye to extreme garage temperatures year round and hello to comfort with our easy-to-install DIY garage door insulation panels kit that blocks 95% of the heat that penetrates your garage door.
Benefits
Designed to Fit


